
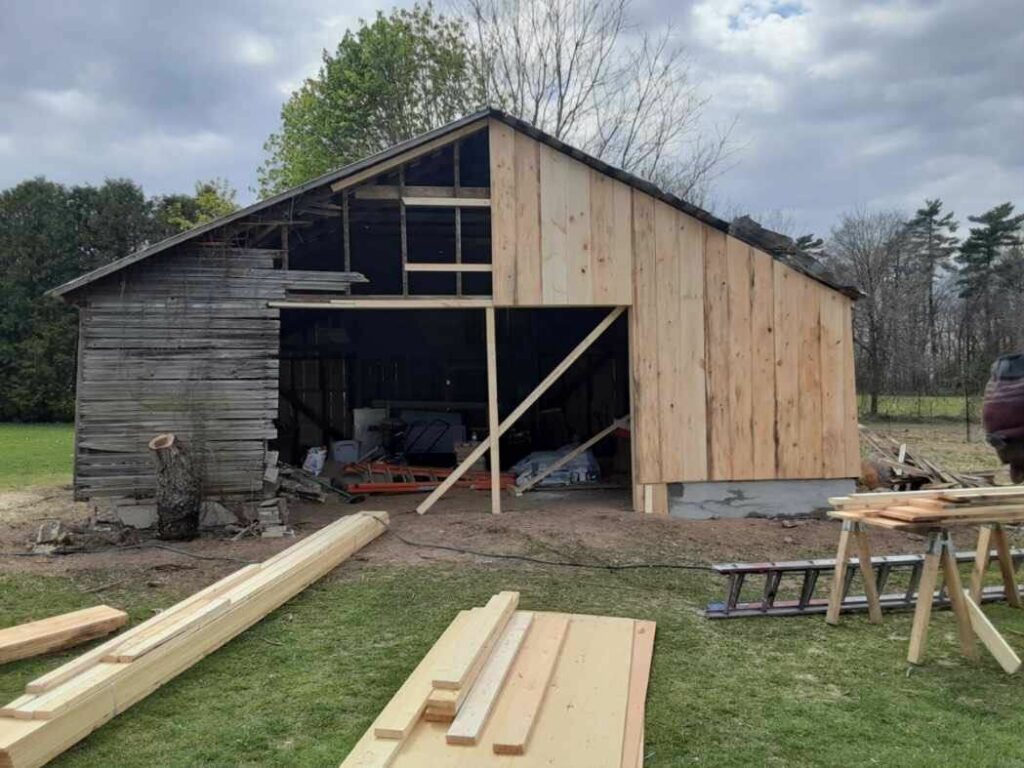
Barn boards are a popular choice for construction and restoration projects in Ontario, Canada. Many barns in the area proudly display wooden siding made from locally-sourced barn boards. These boards are usually crafted from durable woods like hemlock, pine, or oak, and add a touch of rustic charm to any barn project.
Barn Boards for Ontario Barns
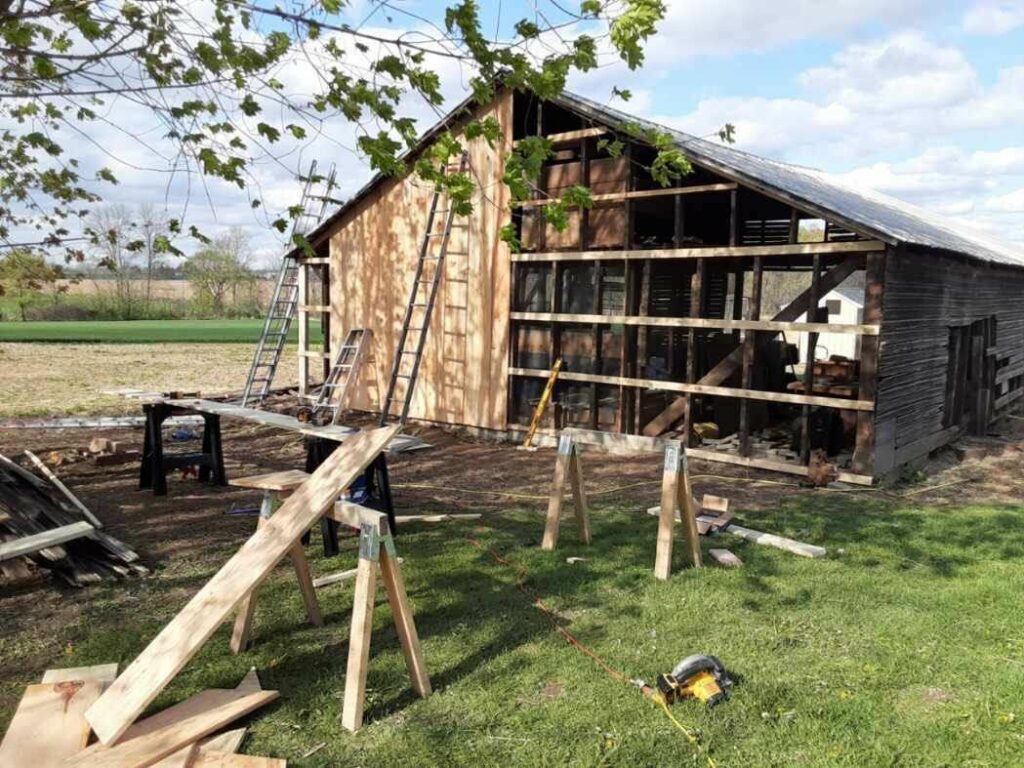
One of the main perks of using barn boards for barns in Ontario is their ability to preserve the authentic look and feel of the structures. With many old barns standing for over a century, they possess unique architectural features that are hard to recreate with modern building materials. Using reclaimed barn boards is an excellent way to maintain the traditional charm and character of these historic buildings.
Moreover, barn boards are well-suited for Ontario’s harsh climate. They are naturally resilient and can endure extreme weather conditions, such as heavy snow, freezing temperatures, and high winds. They’re also pest-resistant, making them an ideal choice for areas where termites are a concern.
Sourcing your Barn Board Supplies
If you’re planning to use barn boards for your barn project, make sure to source your wood from a reliable supplier. This ensures that your barn boards are of high quality and free from any hazards, like lead paint or asbestos. Additionally, it’s essential to work with an experienced contractor who knows how to install and maintain barn boards correctly to ensure their long-lasting beauty and durability.
Before Starting your Barn Board Installation Project
- Research suppliers that specialize in reclaimed barn board materials
- Check for certifications and industry standards compliance
- Visit the supplier’s facility to see the wood and ask questions about sourcing and processing methods
- Consider the supplier’s inventory and make sure they have the specific types of wood you need
- Compare prices from multiple suppliers to ensure you’re getting a fair deal
- Look at delivery options and fees if you can’t transport the materials yourself
How to Install Barn Boards
Plan and measure
Plan and measure the area where the barn board will be installed first. Measure the space’s length and width using your measuring tape.So get your measuring tape out and figure out the length and width of the space. This will help you calculate how much barn board you need to buy.
Prepare the surface
Get your surface ready for the barn board installation by making sure it’s clean, dry, and free of any debris or protrusions. If necessary, install a moisture or vapor barrier to prevent moisture from penetrating the barn board.
Cut the barn board
Grab your saw and get ready to cut the barn board to the right size. If the barn board is rough or uneven, you may need to sand it down to ensure a smooth surface.
Install the barn board
Start at the bottom of the wall or surface and work your way up. Apply construction adhesive to the back of the barn board and firmly press it against the surface. Secure the barn board in place using finishing nails or a nail gun.
Repeat the process
Keep going until all of the barn board is installed, making sure to leave a small gap between each board to allow for expansion and contraction due to changes in temperature and humidity.
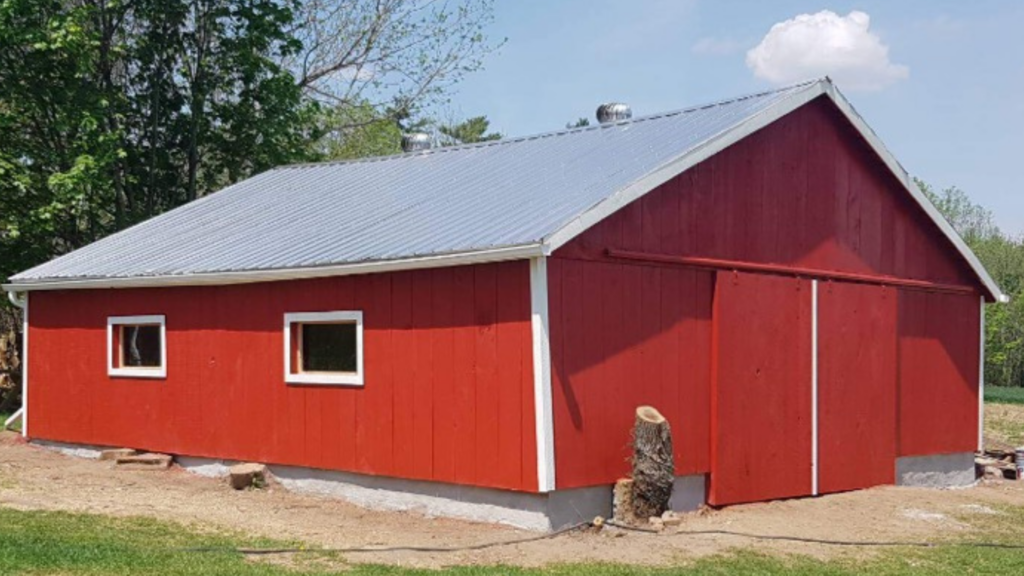
Finishing touches
Once all the barn board is in place, it’s time to add the finishing touches. Apply a sealant or finish to protect the wood and enhance its appearance.
Remember that every project is different, so these steps may need to be adjusted based on your specific needs. If you’re feeling unsure about the process, don’t be afraid to ask for help from a professional carpenter or contractor.
Working with a professional barn board contractor near you can help ensure that your project is completed to your satisfaction and that you get the results you want. By doing your research, communicating clearly, and monitoring progress, you can help ensure a successful project.